Want to Revolutionize
Your Workflow?
⬇⬇⬇ Watch this to learn more ⬇⬇⬇
For the better part of two decades, I’ve been teaching photographers how to enhance their skills. However, I’ve noticed a common issue: many photographers struggle to match their vision with their editing workflow. After thousands of hours of refining techniques, I finally have an incredibly easy-to-follow workflow ready for you, all integrated into The Visionary Panel.
Are you frustrated with your photo editing process to achieve your vision? You’re not alone. Many photographers feel lost, jumping from one technique to the next without seeing the results they want. The traditional focus on techniques can be overwhelming and leave you feeling stuck.
That’s where The Visionary Panel comes in.

With The Visionary Panel, you’ll embark on a comprehensive journey exploring your vision with a viewer-focused workflow. You’ll learn how to identify and enhance focal points, create engaging compositions, and produce images that truly captivate your audience.
The course includes 30 videos, detailed documentation, and follow-along images, all designed to make the editing process intuitive and effective all while exploring your most valuable asset, your vision! The Visionary Panel transforms complexity into clarity, providing you with practical skills you can apply immediately to elevate your photography from ‘meh’ to magnificent.
Embrace a workflow that works every time and watch your photography transcend ordinary limitations. Capture not just images, but emotions and stories, all through the power of a viewer-focused approach, your vision, and The Visionary Panel.
How is that possible? Painters work additively, building their compositions from scratch on a white canvas with various pigments. They understand the importance of choosing the right colors to convey a specific mood and using light to guide the viewer’s gaze.
Think about it: Photography has been around for about 200 years, while the oldest paintings date back 40,000 years! Take a look at “Mount Corcoran” by Albert Bierstadt as an example.
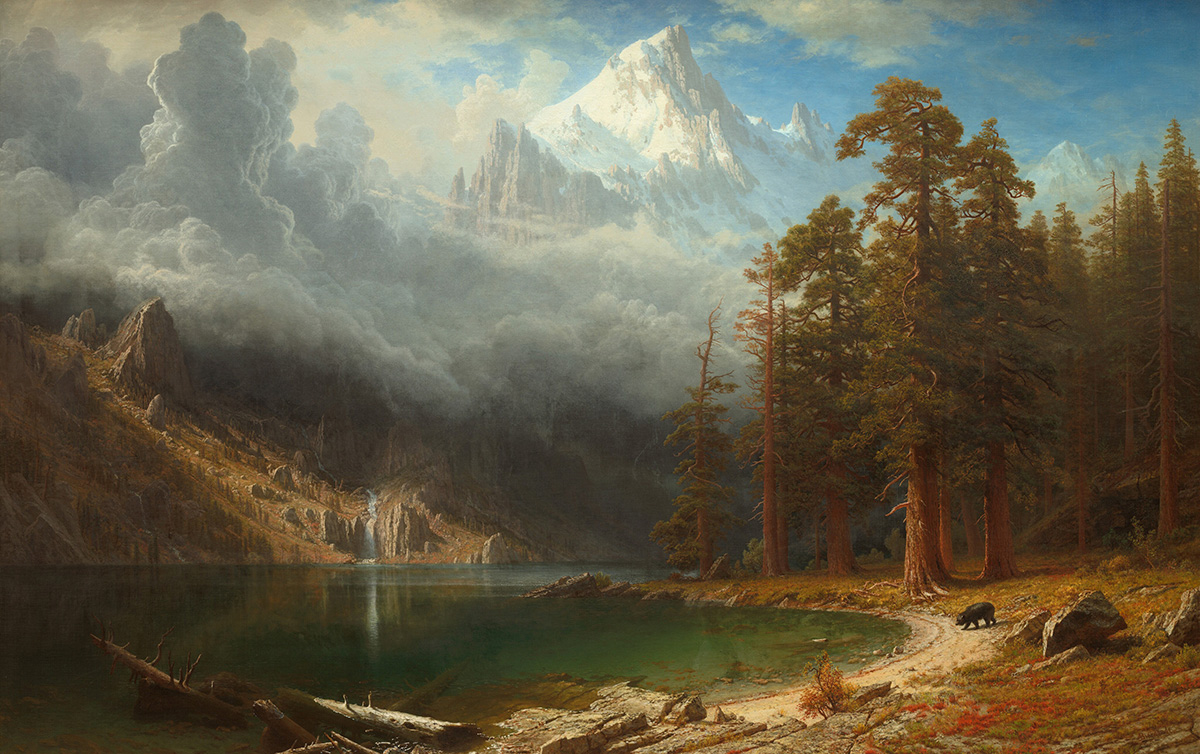
Observe closely at how Bierstadt handled the light in this painting.
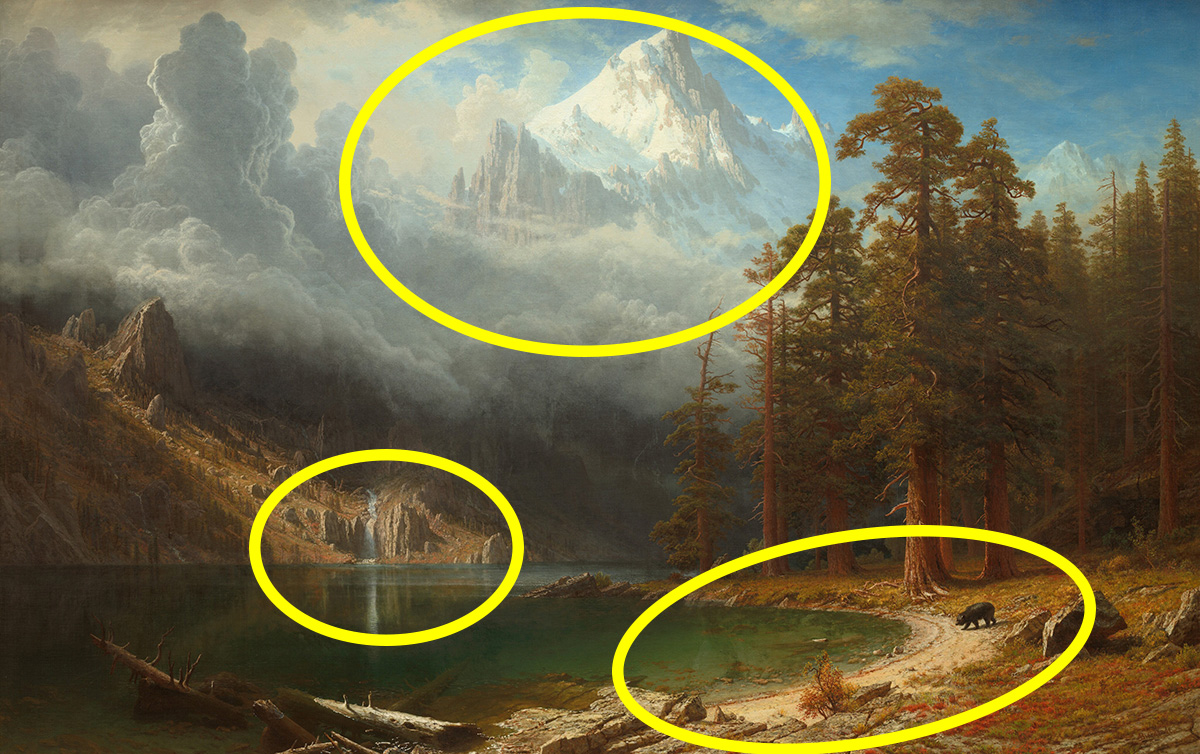
There are 3 key areas he wanted the viewers eye to navigate to, the mountains, the waterfall, and the bear going to get a drink from the lake.
Bierstadt used light in those places to make them stand out over the rest of the subjects on the canvas. It’s a simple idea, but profound in execution.
It seems obvious, right? Then why aren’t you using light like that in your photos?
As photographers, we tend to keep the light where it was when we photographed our subject, but we aren’t stuck with poor light! Everyone says, “want better photos, shoot in better light!” There is definitely some truth to that, so I say, “Want better photos? MAKE better light!” Learn to make light like a painter and you’ll learn the art of captivating your viewer. It’s really that simple and I can show you how.
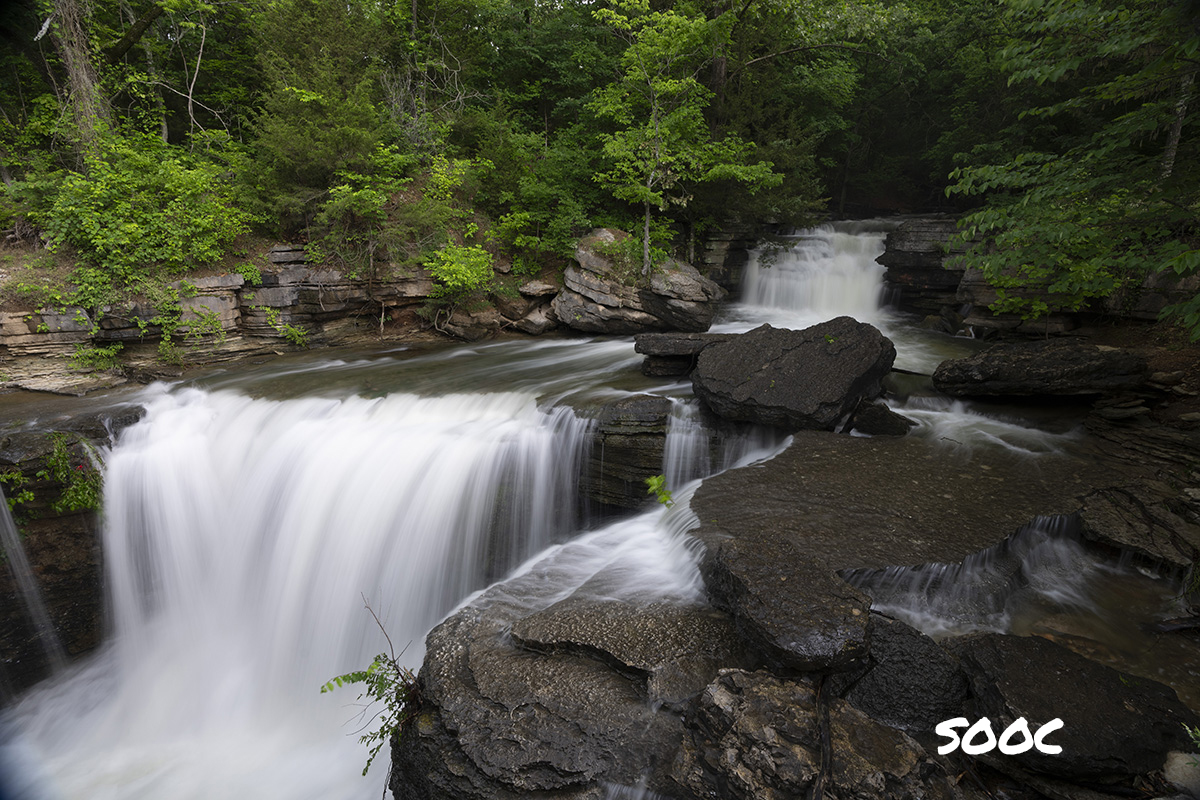
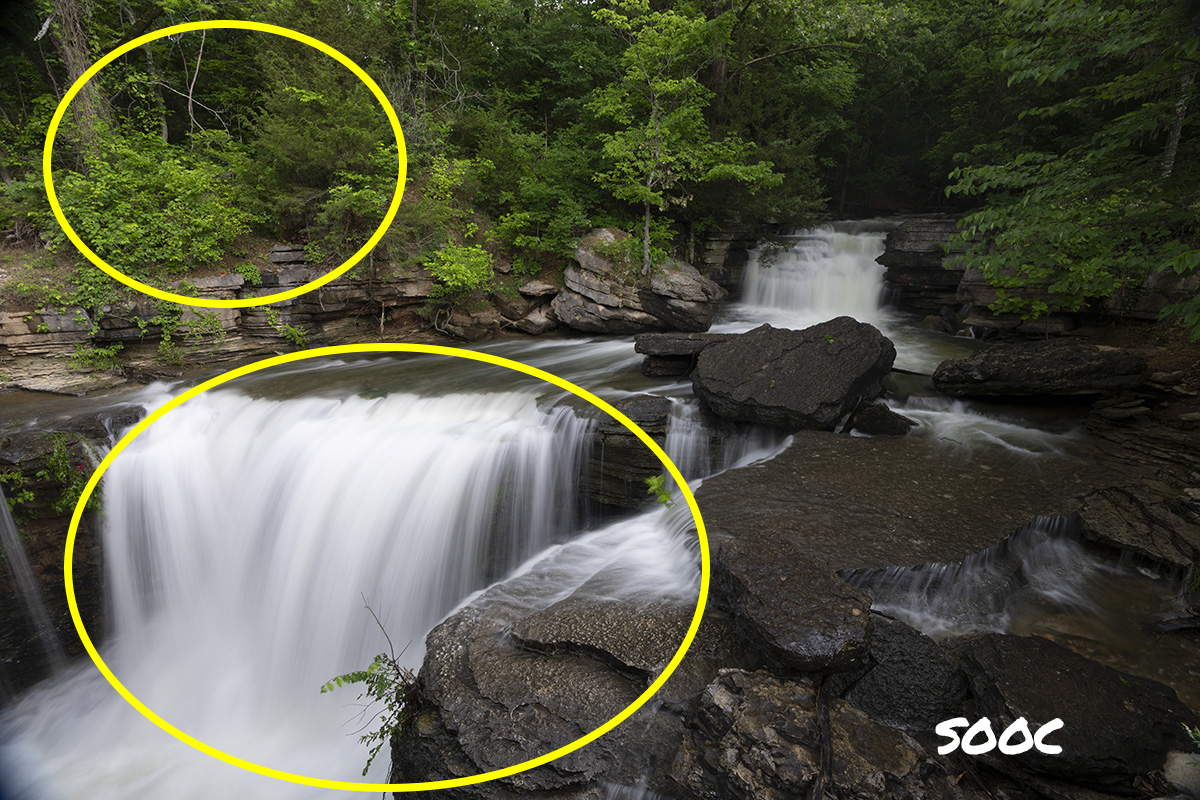
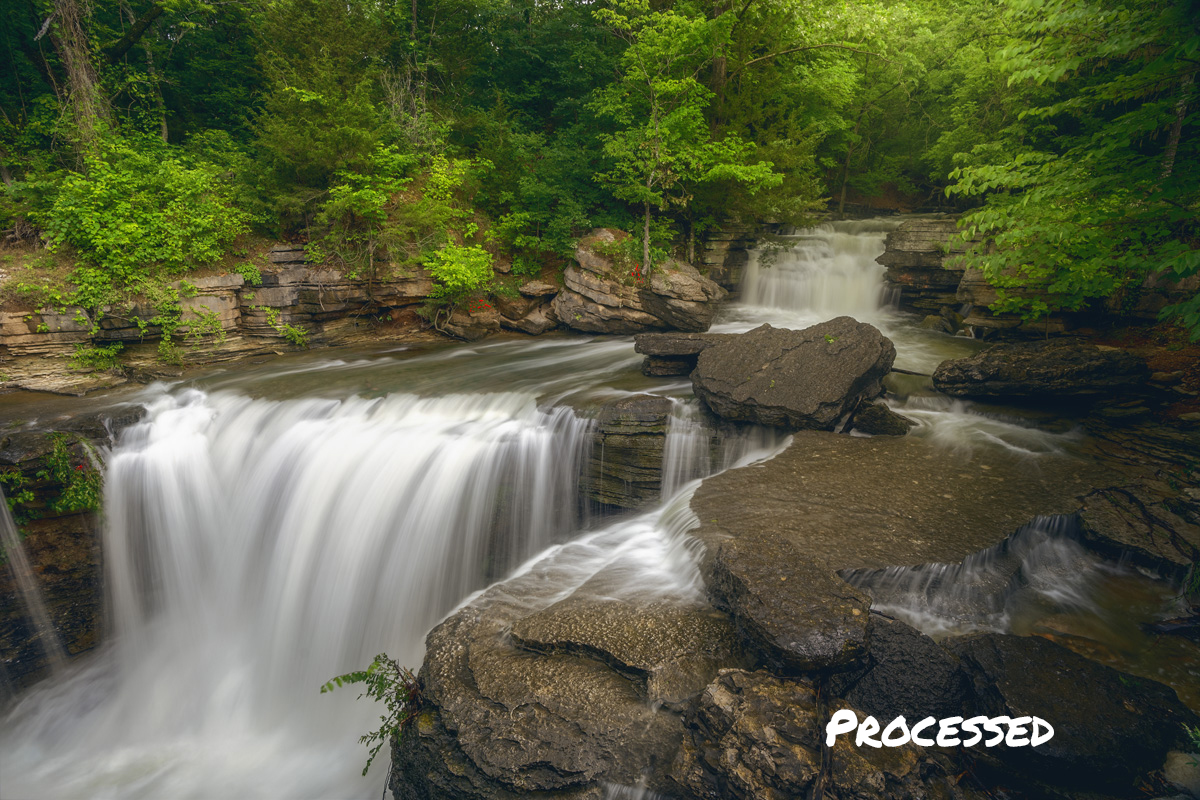
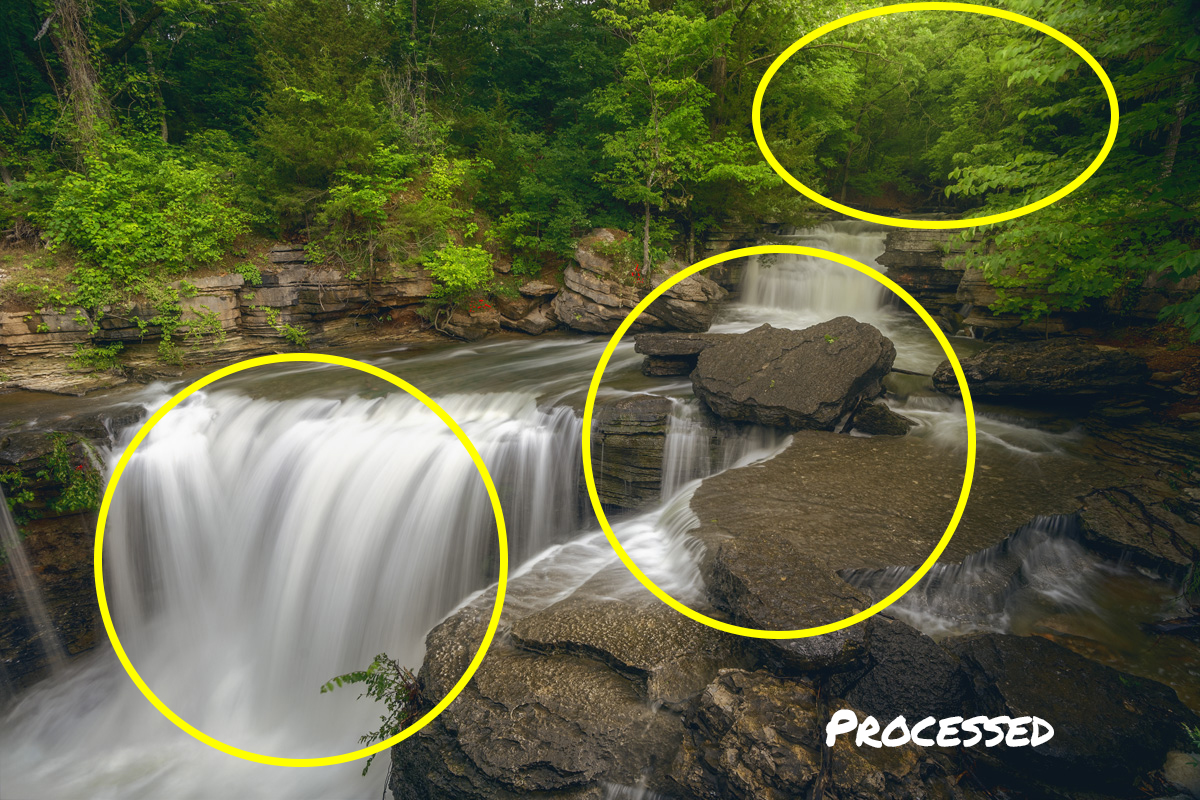
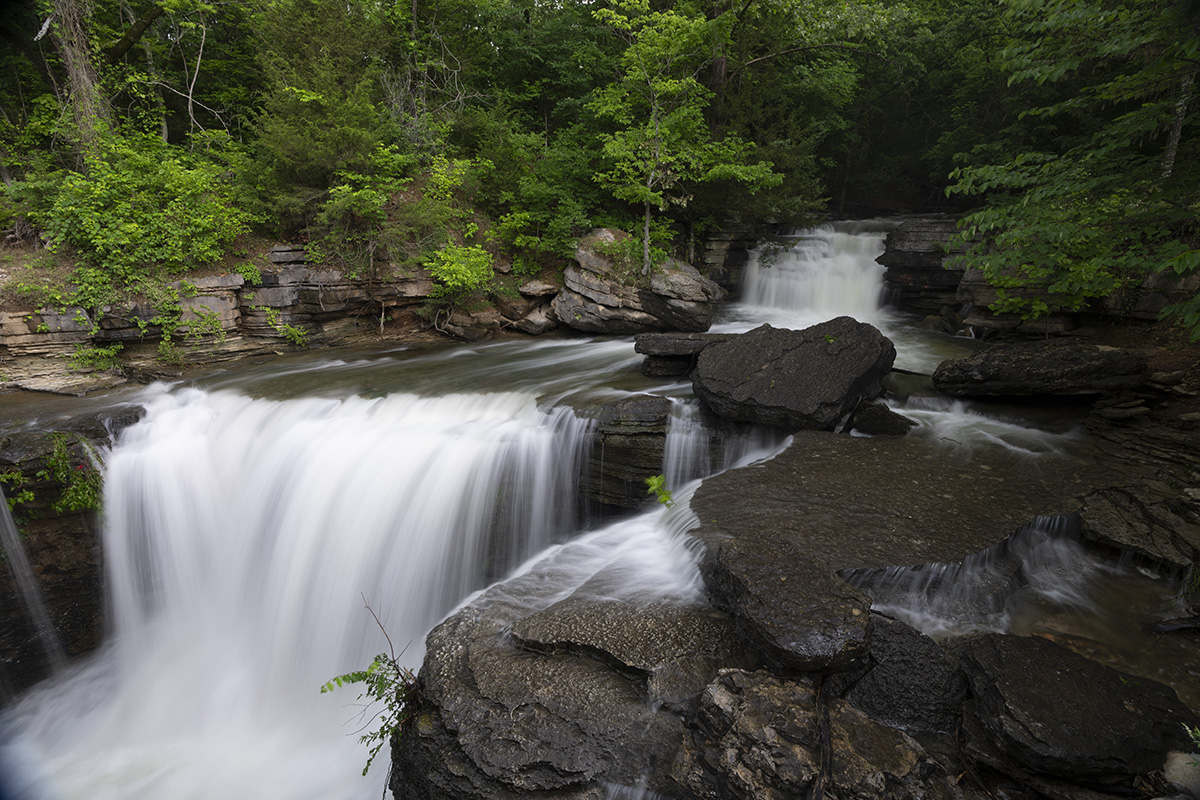
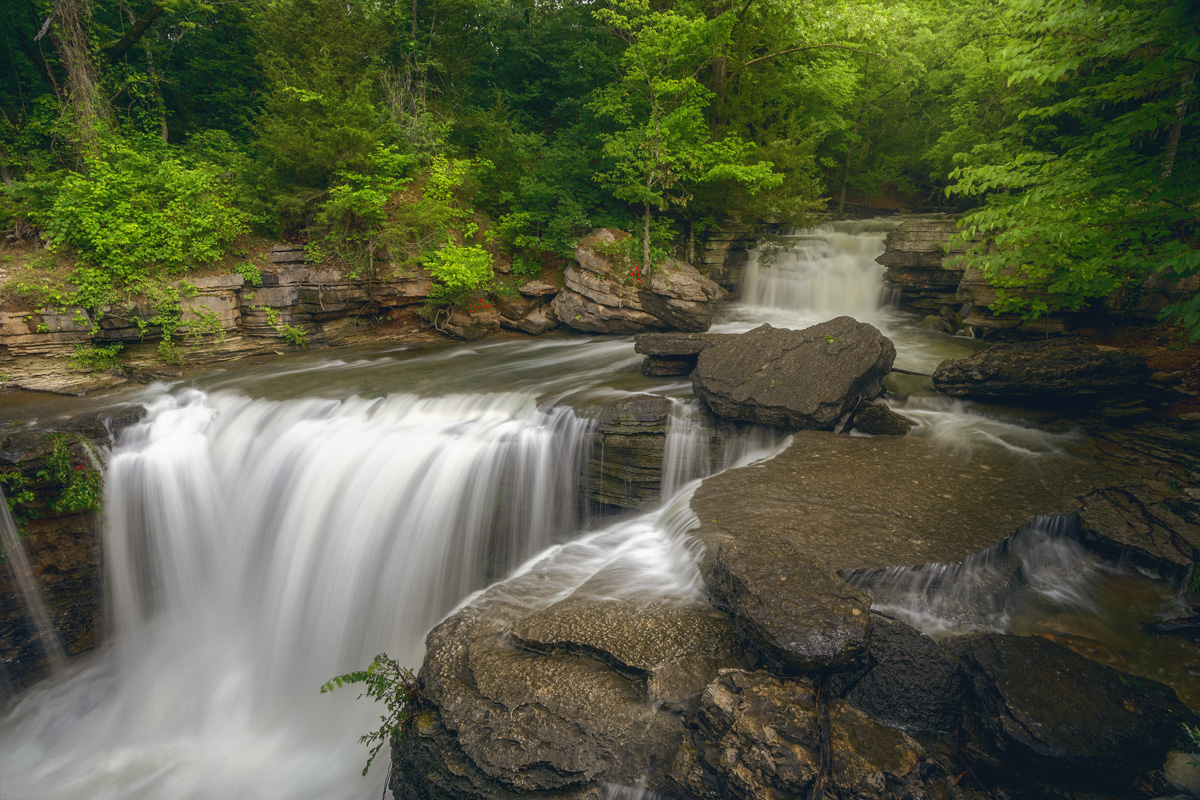
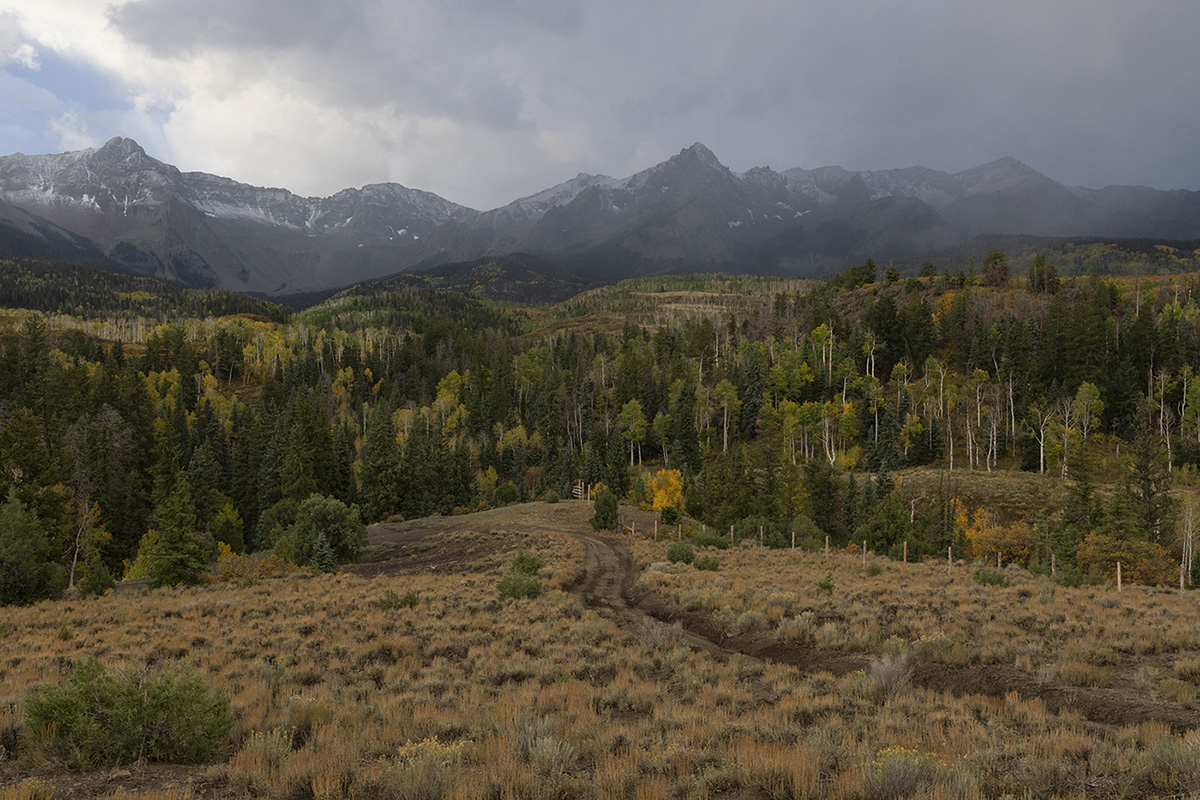
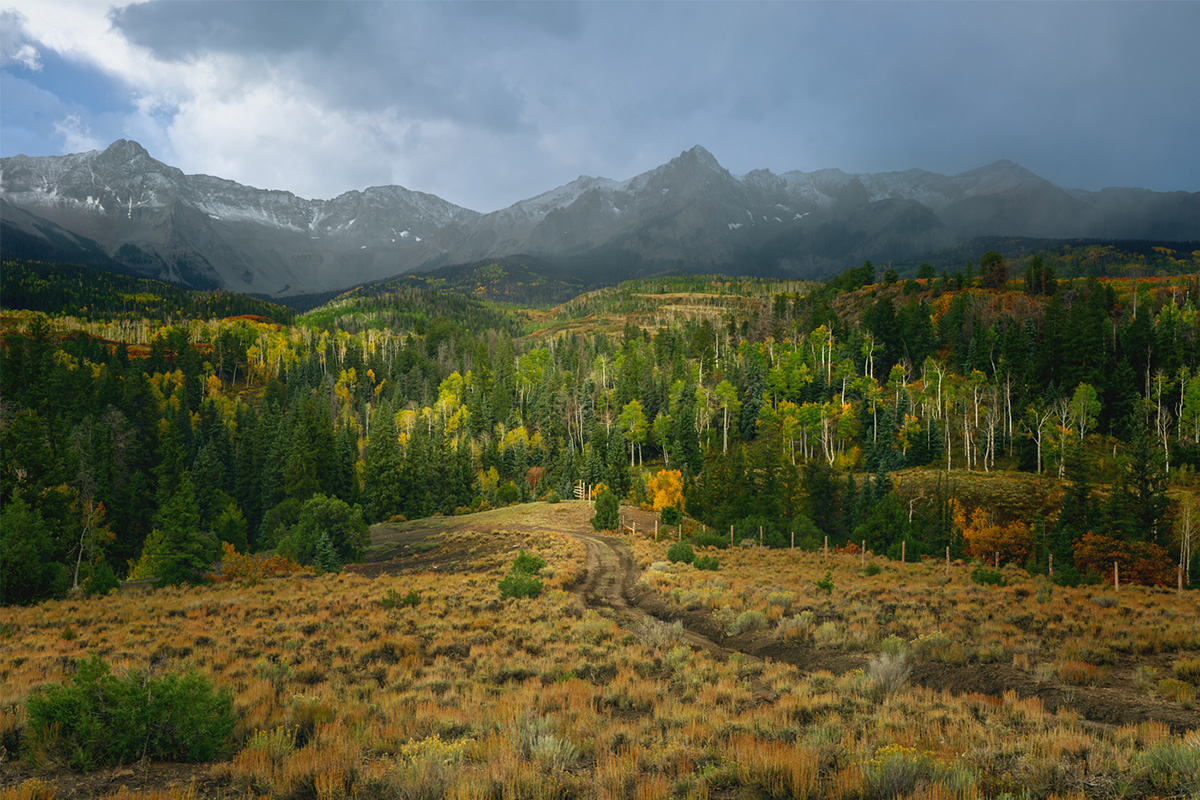
Take a look at the before and after images below, pay specific attention to where the light is and how it affects the viewers gaze.
The straight-out-of-camera version lacks color and the composition is left-side weighted. Regardless of the subject matter, the viewer won’t take much time to look at the photo. They’ll stay “locked up” in the lower left, making the composition feel off balance. Your viewer wants to experience the place just like you did. Make them an experience!
The processed version places a strong emphasis on color to engage the viewer’s senses. There is a clear path of focal points from the top right corner of the image through the lower left corner. The viewer will be more inclined to follow the light path and engage with the image longer.
I used to be a painter and, in fact, I have more years of experience with painting than with photography. When I transitioned to photo editing, I initially overlooked some of the crucial elements from my painting background because I was working with a different medium.
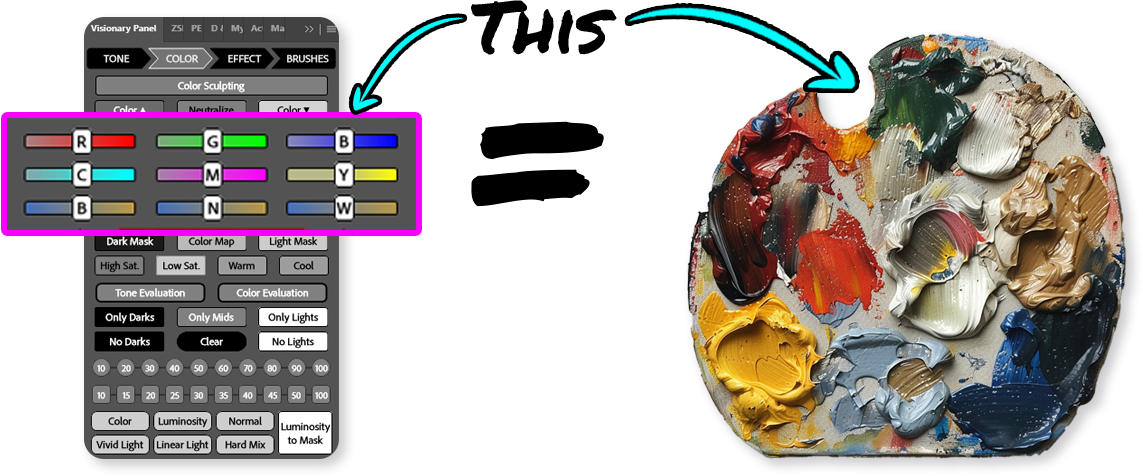
Take color mixing, for example. In painting, if I wanted to intensify the color red, I wouldn’t simply use more red. Instead, I’d add a hint of yellow or even a touch of black to increase its intensity. But in photography, we often just reach for the saturation slider. Increasing the saturation of red only makes it more red; it doesn’t effectively enhance the color’s intensity.
For years, I experimented with various Photoshop adjustments, trying to manipulate photo colors as I would with paint. However, no tool provided satisfying results. That’s where the Visionary Panel comes in.
One of the key benefits of the Visionary Panel is in its color tab. You’ll find sliders for each color, but these don’t merely adjust saturation. They mix the colors like a painter, achieving a natural-looking intensity without oversaturation.
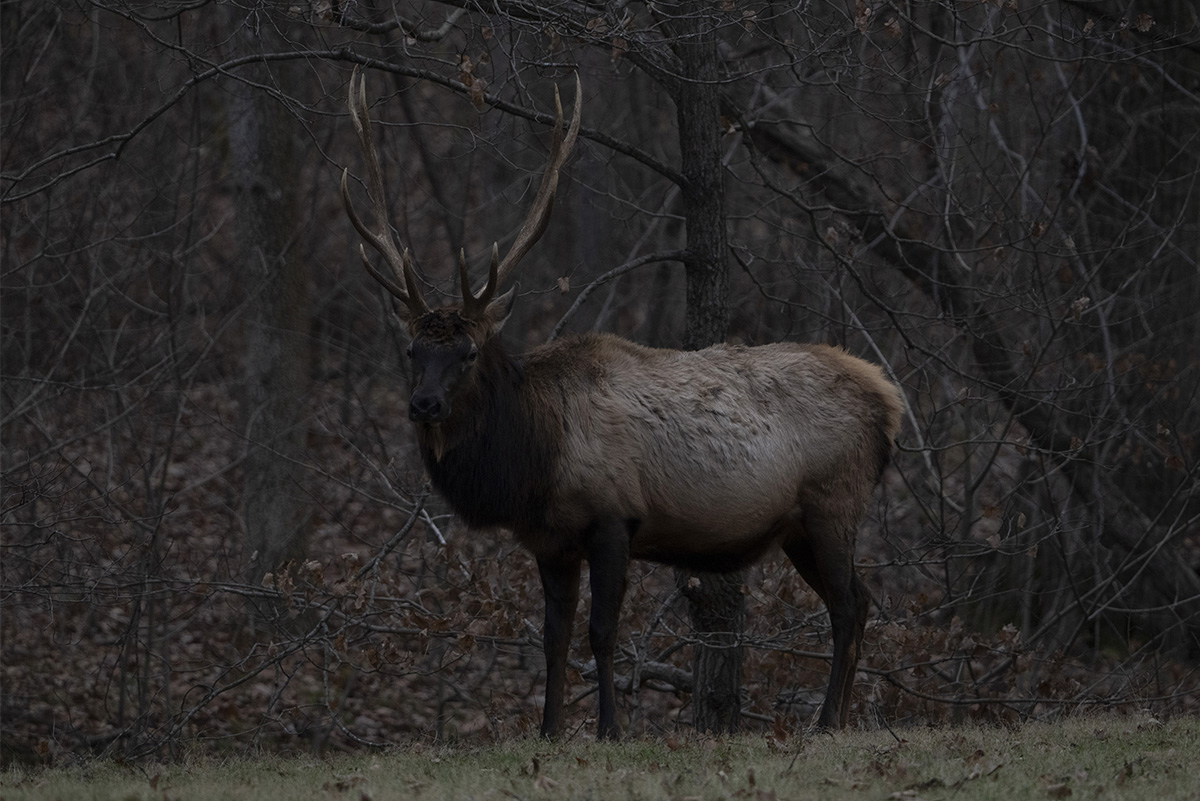
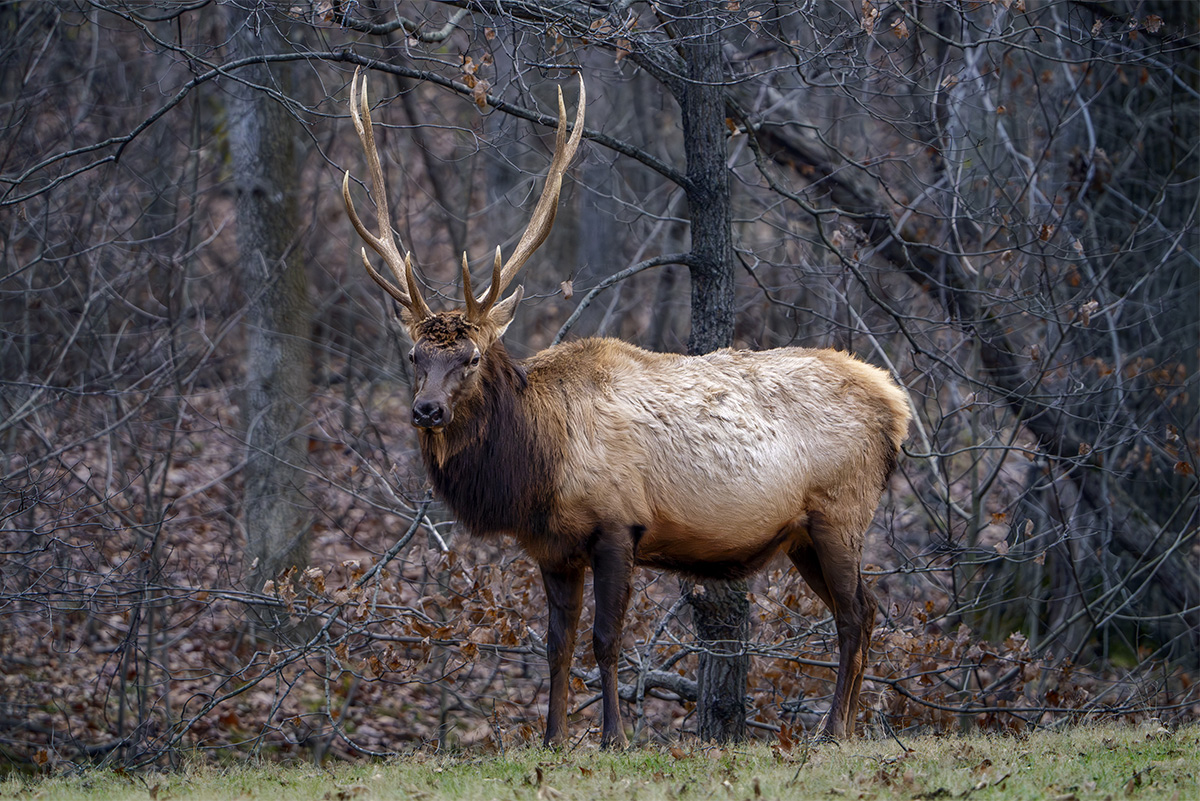
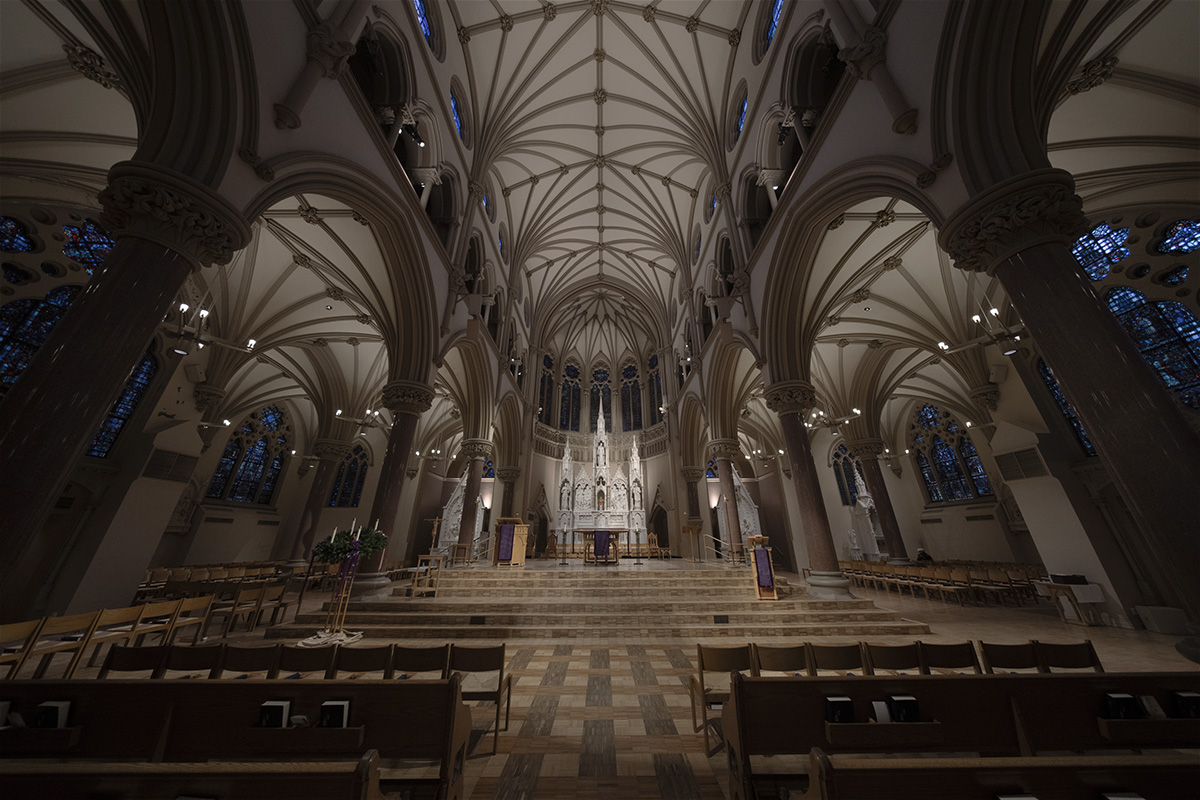
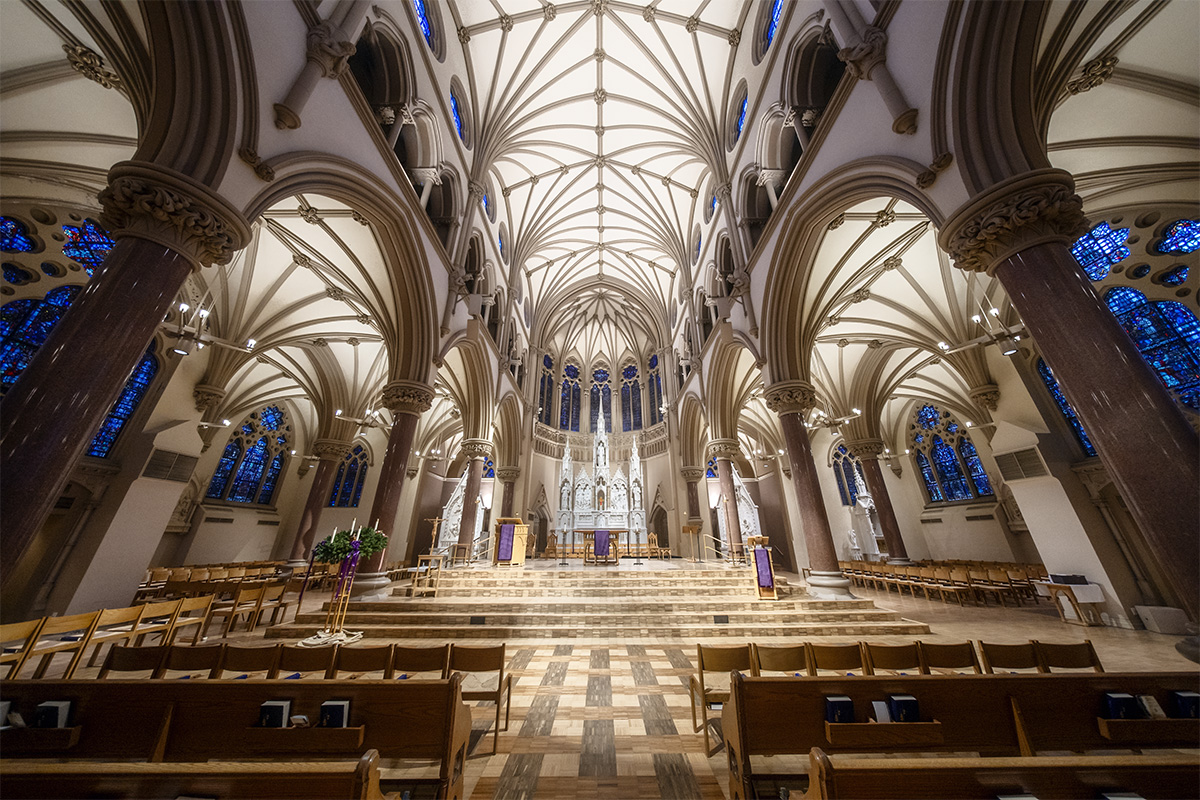
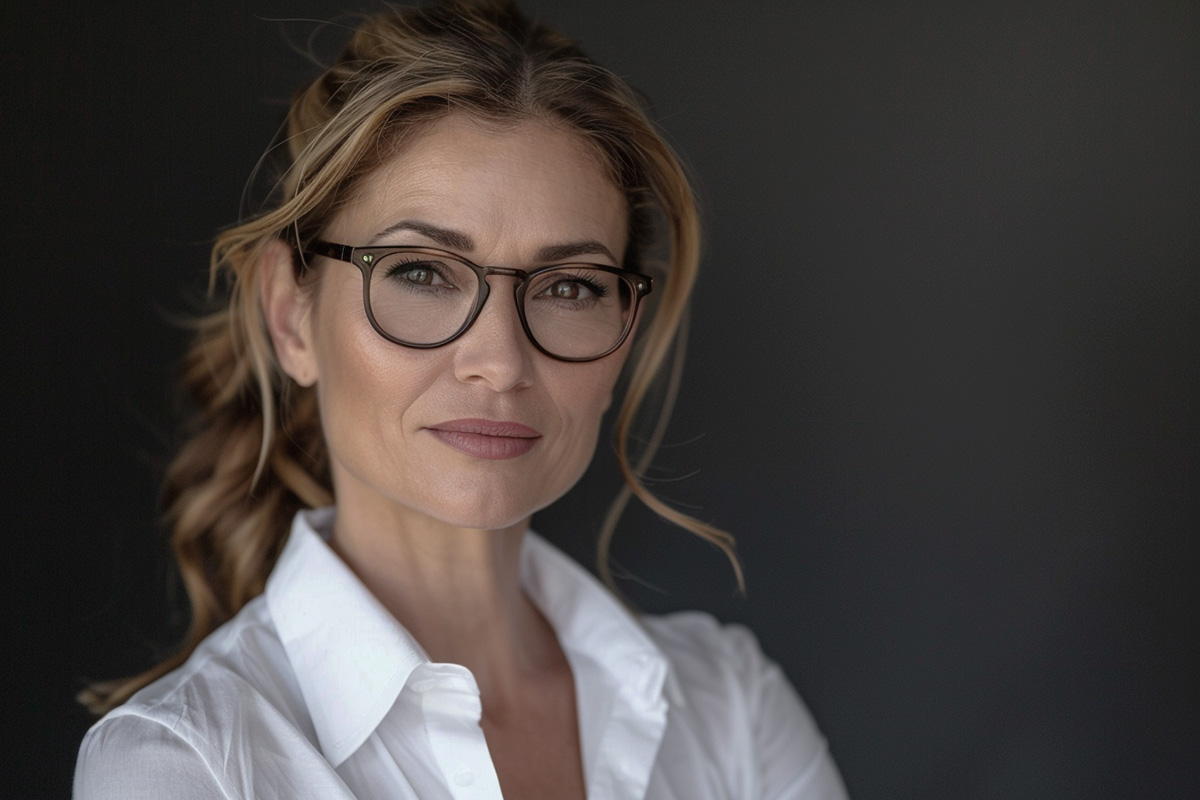
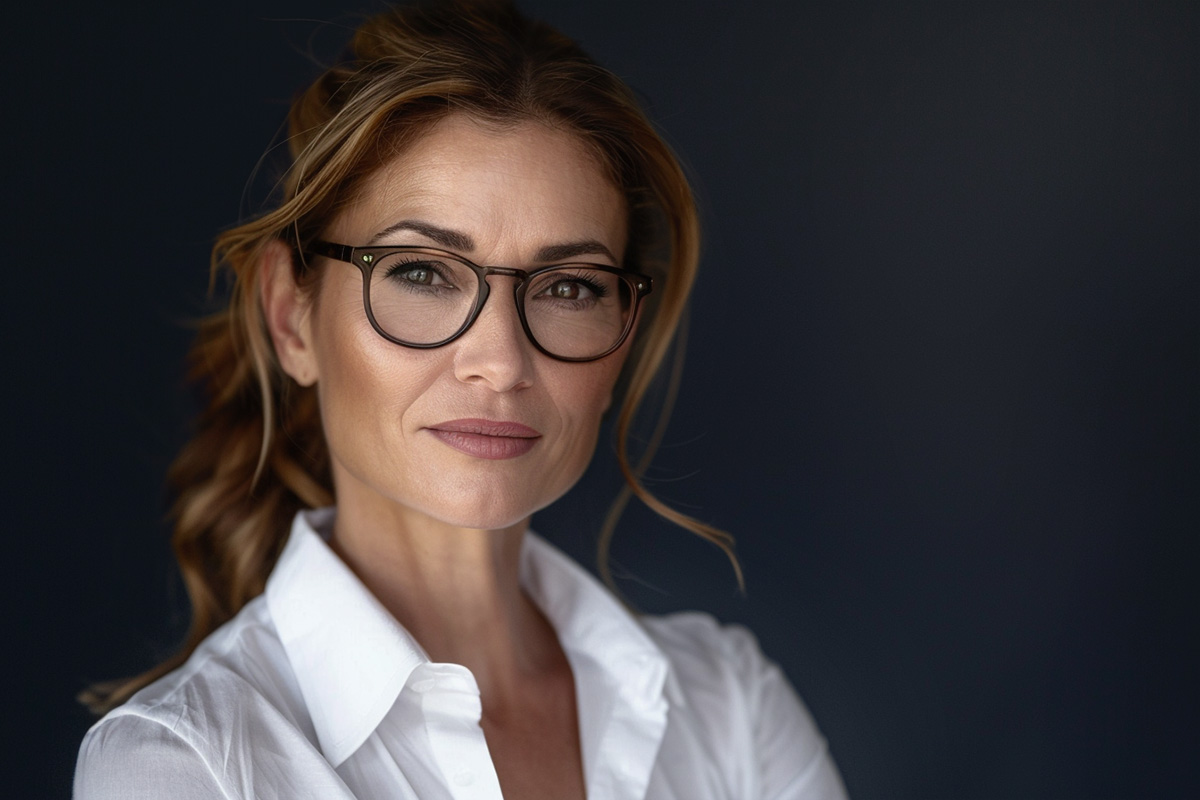
Take a look at these before and after edits. These are some of the images that you’ll edit with me in the course material.

Hey, I’m Blake Rudis, and I’m what you’d call a Photoshop fanatic. All my life, I’ve been trying to capture and edit photos that share my vision, and for the last decade, I’ve been teaching others how to do the same.
In 2010 I launched a blog. While initially a way of showcasing my work, before long, thousands of people were visiting, asking me how I created the shots and art displayed. It quickly turned into an education platform.
So I founded f.64 Academy – a fully comprehensive “online school” for those wanting to learn how to use Photoshop to create the best-looking photos and showcase their vision. I place a strong emphasis on foundational knowledge like tone and color theory. Since then, I’ve helped tens of hundreds of thousands of men and women learn basic, intermediate, and advanced Photoshop skills.
After years of developing techniques, panels, tools, and tutorials for Photoshop, I’m excited to share this new revolutionary workflow and panel with you.
Click the button below, and you will take the first step to exploring your vision!
